Last updated on June 30th, 2025 at 03:58 pm
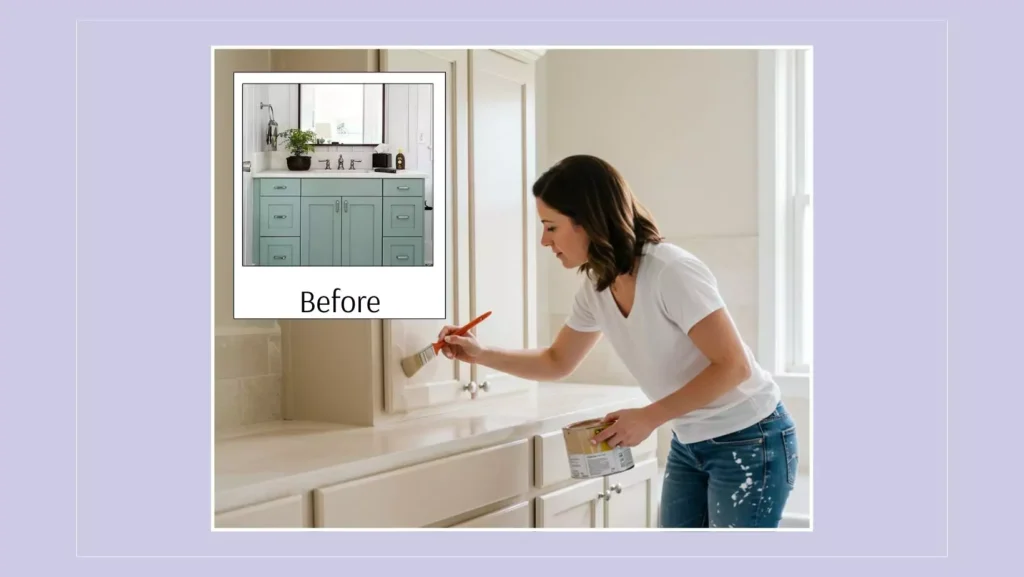
Have you been staring at your bathroom vanity, thinking it needs a serious refresh but not knowing where to start? I’ve been there! A while back, my outdated, dingy honey-oak bathroom cabinets stared at me like a bad decision in the middle of a spa sanctuary I was trying to create. Replacing the cabinets wasn’t in the budget, so I took a DIY leap of faith. Spoiler alert: painting your bathroom cabinets isn’t just a budget-friendly makeover; it’s also surprisingly fun and rewarding!
“The magic of paint lies in its ability to transform the ordinary into extraordinary.” – Jessica Bennett, Interior Design Expert
This guide will walk you through every step of how to paint bathroom cabinets like a pro. Along the way, I’ll share tips, mistakes to avoid, and some secret hacks I learned through trial and error. By the end of this post, you’ll have a bathroom vanity that feels brand-new without the price tag of a renovation.

Why Paint Your Bathroom Cabinets?
Before jumping into the “how,” let’s quickly touch on the “why.” Painting bathroom cabinets is one of the most effective ways to refresh your bathroom without a total overhaul.
Affordable Transformation
Replacing cabinetry can cost thousands of dollars. A can of paint? Around $50. You do the math!
Endless Customization
With hundreds of color choices, finishes, and techniques, painting allows you to personalize your space. Want a sleek matte black vanity? Done. Dreaming of a soothing sage green? No problem.
Adds Value
Even small improvements can boost your home’s overall value. A modernized bathroom is a huge selling point for potential buyers.
Quick Tip: Before you start, spend some time on Pinterest or Instagram for inspiration. Search for “painted bathroom cabinets” and create a mood board to solidify your vision.
What You’ll Need to Get Started
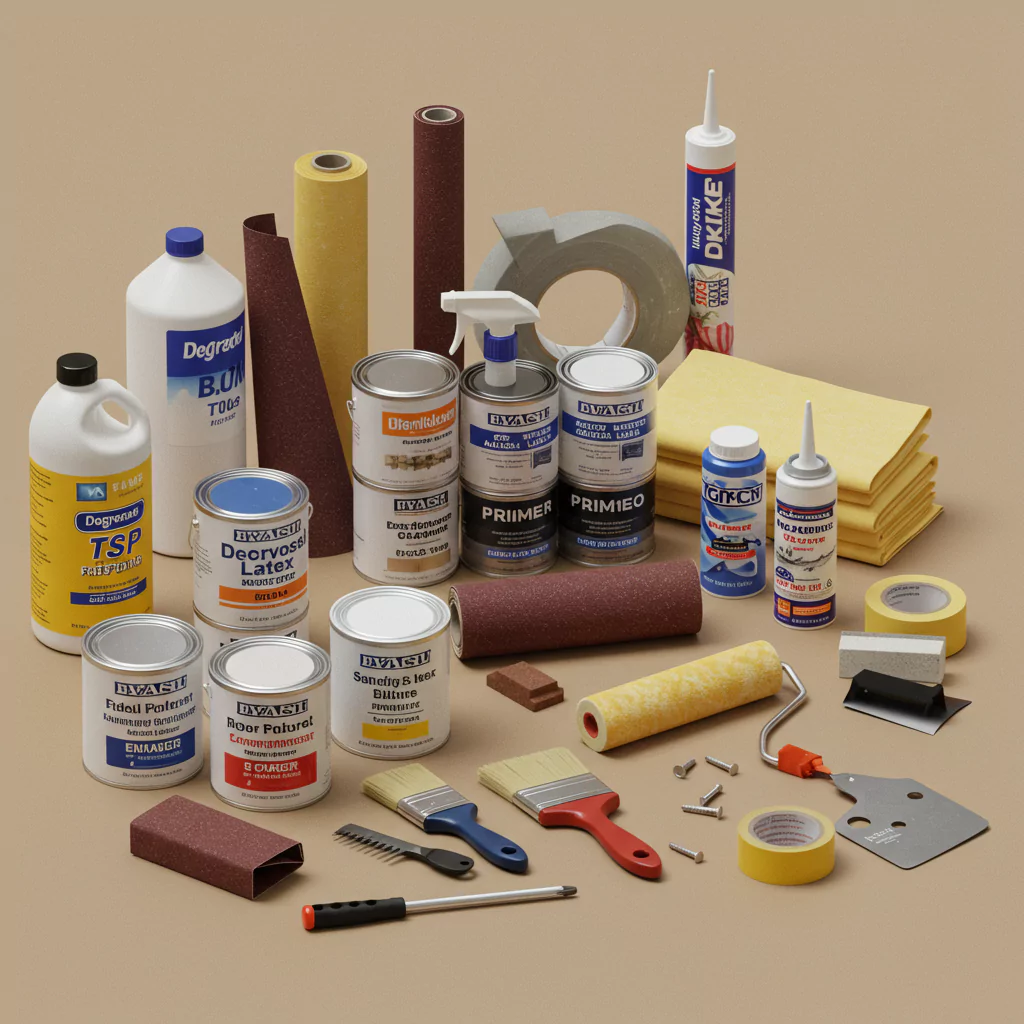
Before we get into the nitty-gritty, it’s crucial to gather all the materials and tools you’ll need. Here’s your checklist :
- Paint: Go for durable options like enamel or acrylic latex. These are perfect for high-moisture environments.
- Primer: A good primer (oil-based or water-based) ensures better adhesion and extends the life of your paint job.
- Sandpaper or Sanding Block: Opt for medium-grit (like 120) for most surfaces.
- Painter’s Tape: Essential for protecting walls and other surfaces.
- Drop Cloths or Plastic Sheeting: Keep your floors paint-free.
- Degreaser/Cleaner: Choose options like TSP to remove dirt and old grease.
- Paintbrushes and Rollers: Foam rollers create a smooth finish, while angled brushes are great for details.
- Screwdriver: You’ll need this to remove hardware (and yes, you’ll want to remove it!).
- Optional but helpful extras:
- Wood filler for cracks or imperfections.
- Caulk to seal gaps or seams.
Preparing to Paint Your Bathroom Cabinets
Preparation is EVERYTHING when it comes to painting cabinets. Skipping steps here is like trying to build a house on quicksand. I learned this the hard way when, rushing through prep, my paint started chipping after a few short months.
Step 1: Remove Cabinet Doors and Hardware
Start by taking off your cabinet doors and removing all the hardware (think handles, hinges, etc.). Trust me, trying to paint around these is a recipe for frustration. Place screws and hardware in a labeled baggie, so you don’t lose them.
Pro Tip: Number each door and its corresponding spot on the cabinet frame using masking tape. It’s like connect-the-dots, but less stressful!
Step 2: Clean Thoroughly
Bathrooms are magnets for grime. You’ll need to clean your cabinets thoroughly with a degreaser to remove residue from soaps, hairspray, and toothpaste splatter.
- Mix some warm water with TSP (trisodium phosphate) or a mild dish soap.
- Scrub all surfaces with a sponge or cloth.
- Rinse and allow everything to dry completely.
Why this matters: Paint won’t adhere properly to oily or dirty surfaces. Skipping this step is the #1 mistake beginner DIYers make.
Step 3: Sand Away Imperfections
Grab some sandpaper (start with 120-grit and finish with 220-grit). Sand the cabinet doors and frames to smooth out the surface and remove any existing gloss.
- Sand in the direction of the grain.
- When you’re done, wipe everything down with a damp microfiber cloth to remove dust.
“Sanding sets the stage for a flawless finish,” says Danny Lipford, home improvement guru.
This is where patience pays off. A well-sanded surface ensures your paint goes on smoothly and stays on for years.
Choosing the Right Paint for Bathroom Cabinets
Not all paints are created equal, especially when it comes to high-moisture areas like bathrooms. I learned this the hard way when my initial matte finish couldn’t withstand the humid shower steam.
What to Look For
- Durable Paint: Use a paint that’s specifically designed for cabinetry or high-traffic areas. Look for terms like “trim and cabinet paint” or “enamel.”
- Semi-Gloss or Satin Finish: These finishes are durable and easy to clean while still looking polished.
- Primer: If you’re not using a paint-and-primer combo, choose a bonding primer to ensure the paint adheres well.
Great brands to consider:
- Benjamin Moore Advance
- Sherwin-Williams Emerald Urethane Trim Enamel
- Behr Alkyd Semi-Gloss Enamel
Quick Hack: Ask the paint store associate for advice if you’re unsure. Their expertise is gold.
How to Paint Bathroom Cabinets

Step 1: Prime Time
Start with a primer coat. Apply it with a high-quality brush or a small foam roller for a smooth finish. Don’t skip this step; it seals the surface and helps the paint adhere better.
Step 2: Apply Thin Coats of Paint
Patience is key here. Use thin, even coats of paint. Applying thick coats can lead to drips (and regret).
- Use a foam roller for larger surfaces and an angled brush for corners or detailed areas.
- Wait at least 24 hours between coats. Yes, it’s a waiting game, but your future self will thank you.
Expert Tip: “Always paint in good lighting to spot any brush strokes or missed areas,” advises Karen Cain, a professional painter with 15 years of experience.
Step 3: Seal the Deal
Once your paint has dried completely (give it 48 hours for good measure), apply a clear topcoat to protect the surface. Polyurethane or polycrylic is great for this. Use a satin or semi-gloss finish to match your aesthetic.
The Finishing Touches
After everything is sanded, primed, painted, and sealed, it’s time to reattach your hardware and admire your masterpiece. This is also a great time to upgrade old hardware for a fresh new look.
Things I Wish I Knew Before Painting My Cabinets
- Invest in Quality Tools: Cheap brushes shed bristles, and flimsy rollers leave streaks.
- Don’t Skimp on Prep: It’s tempting to rush, but thorough prep ensures a lasting finish.
- Give It Time to Cure: Light use is fine after 2-3 days, but wait 2-3 weeks before heavy use.
Painting your bathroom cabinets may seem intimidating, but armed with the right tools, techniques, and a bit of patience, you can pull off this upgrade with stunning results.
Optional Touches
Feeling a little fancy? Here are additional upgrades to elevate your newly painted cabinets:
- Add soft-close hinges for a more polished feel.
- Line the drawers with pretty or practical liners for a finished look.
- Apply under-cabinet LED strip lighting for ambiance and functionality.
Breathe New Life into Your Bathroom
Painting your bathroom vanity is like giving your cabinets a second chance at life. It’s achievable for anyone willing to set aside a weekend and put in a little elbow grease.
If you’re ready to tackle your project but still have unanswered questions, drop them in the comments—we’re here to help! Until then, happy painting!
Frequently Asked Questions
What kind of paint do you use for bathroom cabinets?
The best type of paint for bathroom cabinets is a high-quality, moisture-resistant paint, such as semi-gloss or satin finishes. These options are durable and can withstand the humid environment of a bathroom.
Can you just paint over bathroom cabinets?
While it may be tempting to paint directly over them, proper preparation is key. Cleaning, sanding, and priming the surface ensure the paint adheres evenly and lasts longer.
Do I need to sand bathroom cabinets before painting?
Yes, sanding is recommended to remove the old finish and create a smooth surface for the new paint to stick. However, if the cabinets are in excellent condition, light sanding may suffice.
Is painting bathroom cabinets a good idea?
Absolutely! Painting your cabinets is an affordable way to refresh your bathroom’s look without a full renovation. With the right preparation and paint, the results can be stunning and long-lasting.
How many coats of paint on bathroom cabinets?
Typically, two coats of paint are sufficient for even coverage, but this can vary depending on the color and type of paint. Make sure to allow each coat to dry fully between applications.
What is the best color for bathroom cabinets?
Neutral shades like white, gray, or beige are timeless and versatile. However, bold colors like navy or emerald green can create a striking focal point for the room.
How many coats of primer do I need to paint cabinets?
One coat of primer is generally enough, but for darker or previously stained cabinets, a second coat may be needed for better coverage.
How long does bathroom paint last?
With proper preparation and the use of quality materials, painted bathroom cabinets can last several years, even in humid conditions. Regular cleaning and maintenance will extend their lifespan further.