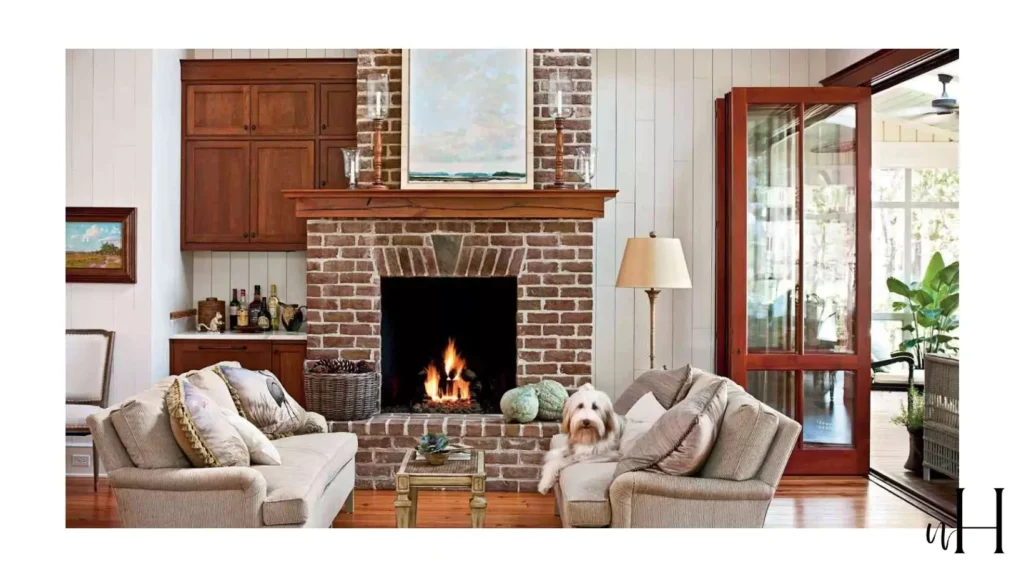
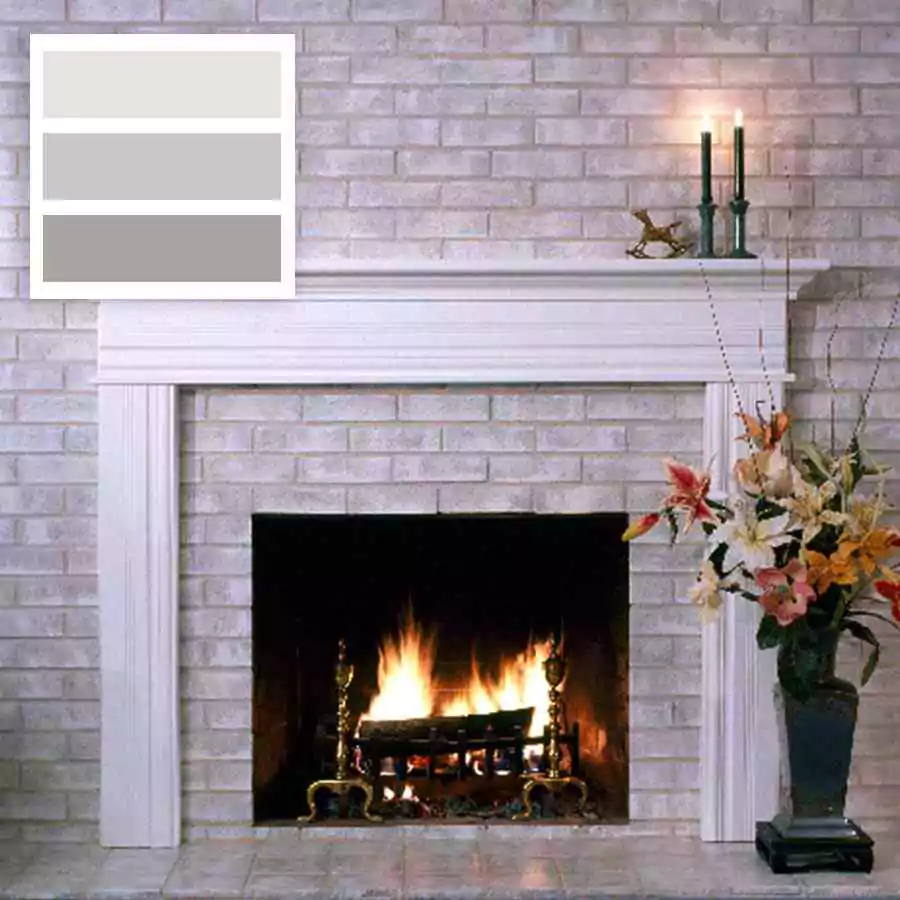
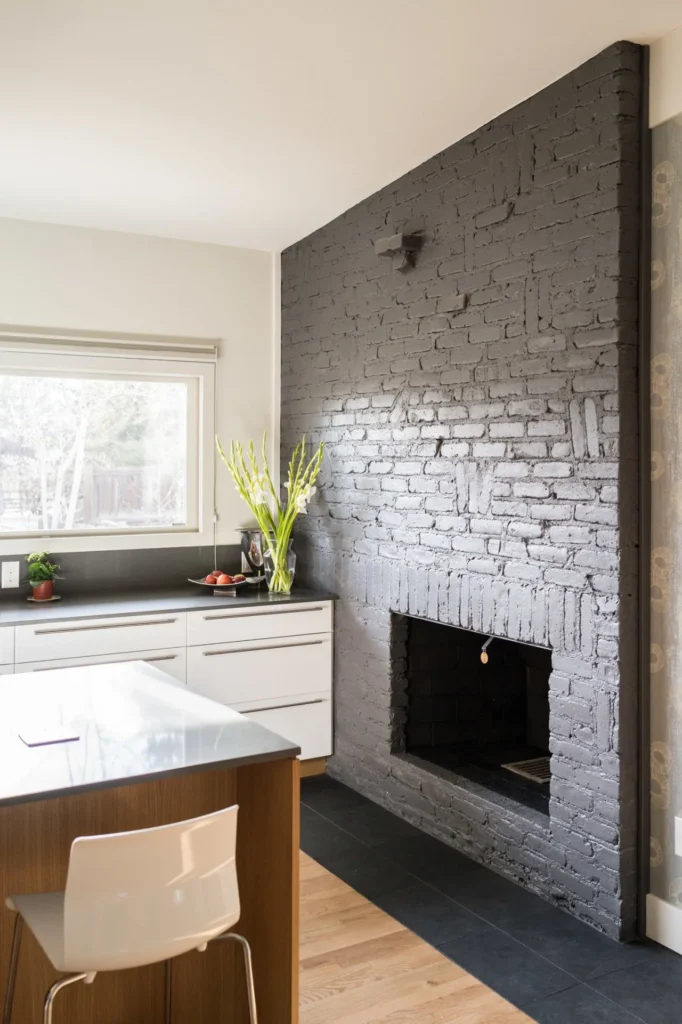
Painting an old brick fireplace can change the whole look of your any room. Many homeowners renovate dark, dated brick by painting it a lighter solid color or applying finishes like a whitewash or German smear (a thin white mortar wash).
Rebuilding a new brick fireplace is far more expensive than just renovating the old one.So you need to learn “How to paint brick fireplace”? in order to save $$. It can hide cracks, stains or mortar blemishes and refresh the space. Before you begin, understand that painting brick is essentially permanent – the paint soaks into the porous brick and is very difficult to remove.
Proper prep and the right products are crucial for a durable finish. For your help, I’ve collected all the information from across the web and solved everything in one article.So keep reading to have solve all your queries.
Tools & Materials
You will need basic painting and masonry supplies:
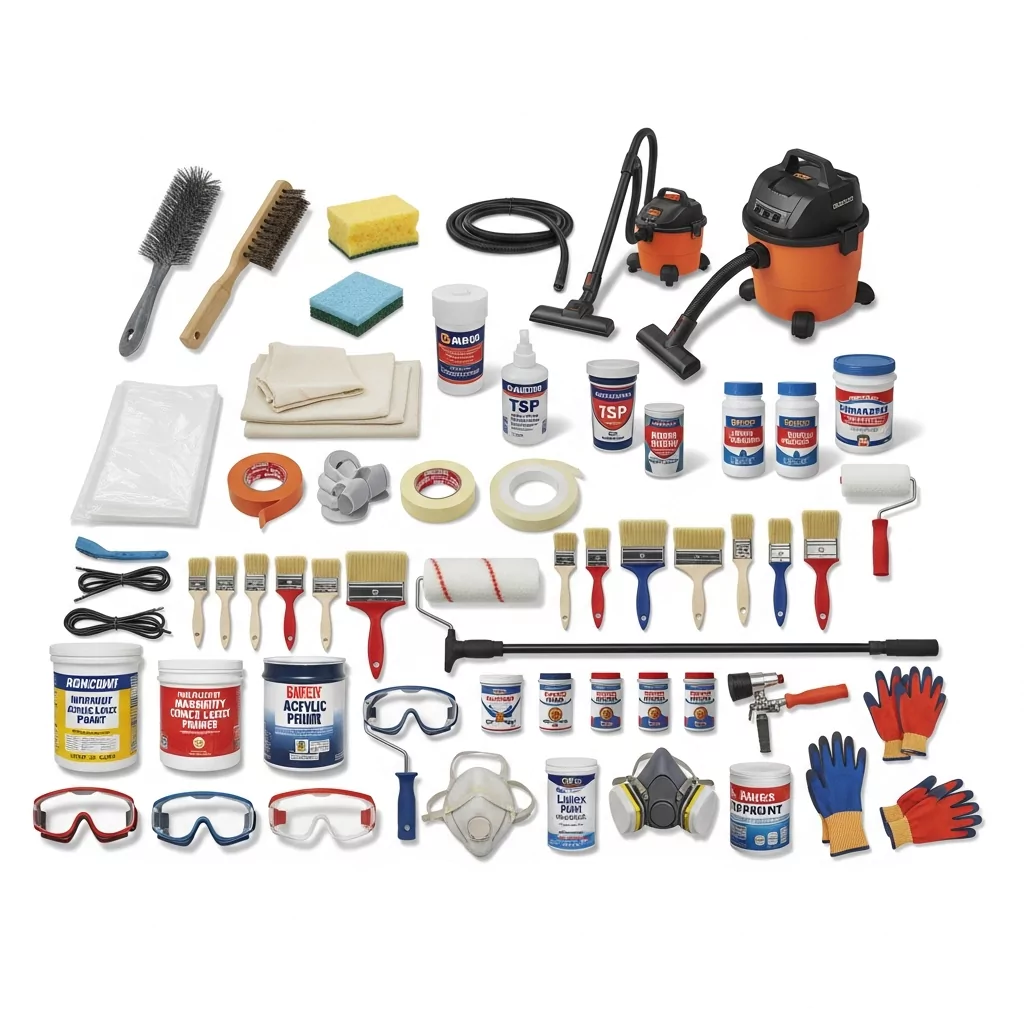
Cleaning tools:
stiff wire brush, sponge, vacuum or shop-vac (to remove dust and soot).
Cleaners:
all-purpose or masonry cleaner/degreaser (e.g. TSP or citrus-based cleaner), plus water for rinsing.
Repair supplies:
masonry crack filler (for any mortar gaps or loose brick).
Protection:
painter’s tape and drop cloths or plastic sheeting to protect adjacent surfaces and floors.
Painting tools:
a variety of brushes (1–2″ angled or flat sash brushes for mortar and edges) and rollers (1/2″–3/8″ nap covers recommended for rough brick). An extension pole can help on tall fireplaces.
Primer:
a high-quality masonry/concrete or all-purpose acrylic latex primer. (Examples include Insl-X Aqua Lock or Benjamin Moore Fresh Start Primer, or Sherwin-Williams Loxon concrete/masonry primer.
Paint:
interior acrylic or latex paint. Sherwin-Williams ProClassic® Waterborne Acrylic Enamel and Benjamin Moore Regal® or Aura® are examples of durable interior paints suited for fireplaces. Use high-heat spray or brush-on paint (black or metallic) for the firebox interior.
Safety gear:
goggles, respirator or mask, and gloves to protect against dust and fumes.
Tip: Working in a well-ventilated area is important. Allow the fireplace to cool completely before painting or curing paint with heat.
Preparation
Proper prep is the most time-consuming but essential part of the project. Follow these steps:
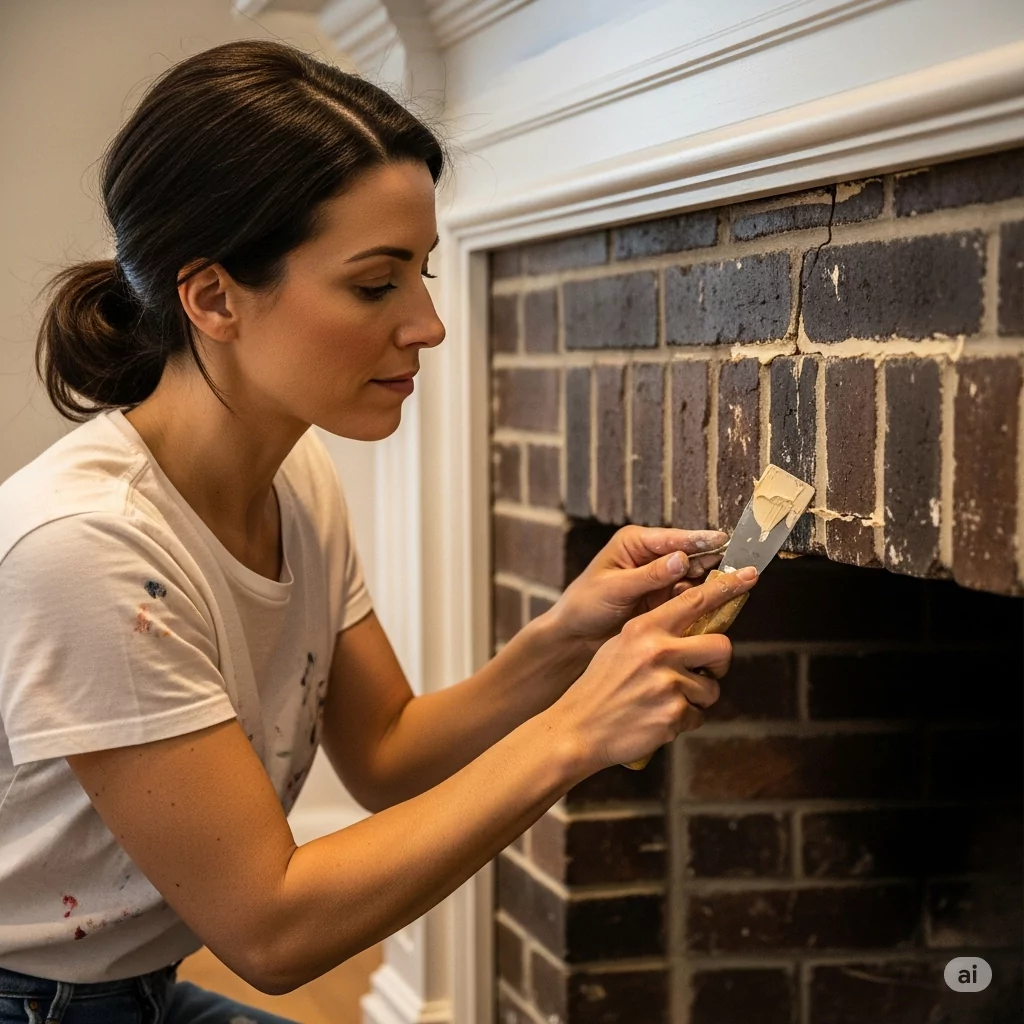
Inspect and repair: Check the brick and mortar for cracks, crumbling joints or damage. Use masonry caulk or crack filler on any gaps. Allow filler to cure per instructions. If old mortar is loose, consider repointing before painting.
Remove debris: Use a stiff wire brush on all brick surfaces and especially the mortar joints to knock off loose soot, dirt, paint flakes or deteriorated mortar. A shop vacuum can collect the dust. If the brick has been painted previously, scrape any peeling paint and sand glossy areas to give new paint a key.
Clean thoroughly: Wash the brick with a degreaser or cleaning solution (for example, a trisodium phosphate mix or biodegradable citrus cleaner). Scrub with a stiff brush or sponge to remove grease, tar, or smoke stains.
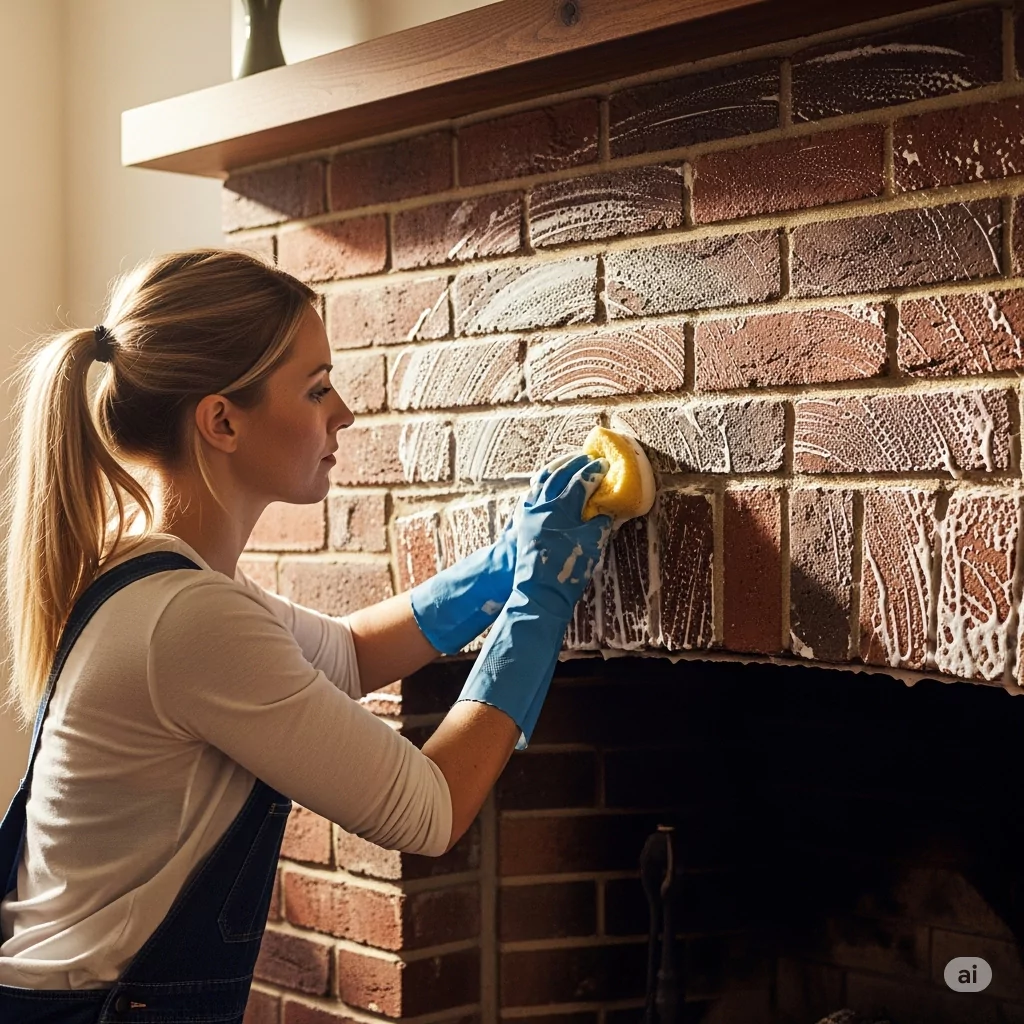
Rinse well with water. Multiple washes may be needed if soot or mineral stains persist. Ensure all cleaner residue is gone. Important: Brick is very porous and can hold moisture. After cleaning, let the brick dry completely – typically 24–48 hours – before moving on. Wet brick can cause primer/paint adhesion problems.
Protect surrounding areas: Use painter’s tape along the edges of the hearth, mantle, and nearby walls. Lay down drop cloths to catch drips. Cover the firebox opening (or stop painting there) if you are not painting the firebox interior.
Priming the Brick
Priming is critical when painting masonry. Most raw brick and mortar will absorb a lot of paint, and primer improves adhesion and blocks stains.
- Apply primer: Working a section at a time, brush primer into the mortar lines and any tight spots first. This ensures complete coverage in crevices. Then use a roller to coat the brick faces. A 1/2″ or 3/8″ roller nap is usually suitable for textured brick. (Sherwin-Williams advises a 1″ brush and mini roller combination.)
- Choose the right primer: Use a concrete/masonry primer or a high-hiding acrylic latex primer. These are formulated to bond to brick and resist alkaline efflorescence. Benjamin Moore and Sherwin-Williams sell suitable formulas. (For previously painted brick, a bonding primer such as Zinsser Bullseye or a specialty primer is needed to adhere to the existing paint.)
- Let it dry: Allow the primer to dry fully (often overnight). For very porous or dark brick, a second coat of primer may be necessary to cover old color or stains.
Pro Tip: Be thorough in priming – this seals the brick and prevents mineral staining from “bleeding” through the paint. Use a brush for corners and edges, and roll large flat areas.
Indoor Brick Fireplace – Paint & Primer Recommendation
| Surface Area | Condition | Recommended Primer | Recommended Paint |
|---|---|---|---|
| Brick (unpainted) | Clean, raw brick | Masonry/concrete primer or bonding primer | Interior 100% acrylic latex paint (e.g., satin, eggshell, or semi-gloss finish) |
| Brick (previously painted) | Old paint intact, no peeling | Bonding primer (e.g., Zinsser 1-2-3, Kilz Adhesion) | Acrylic latex paint (same sheen as original or satin/semi-gloss for easier cleaning) |
| Brick (stained/sooty) | Discolored or smoke-stained brick | Stain-blocking primer (e.g., Kilz Premium, Zinsser Bulls Eye) | Acrylic latex paint (white, gray, or warm tones work well for clean look) |
| Mortar lines | Porous and uneven | Same primer used for brick (apply with brush) | Use brush or small roller with same paint as brick face |
| Interior firebox | Exposed to direct heat/flames | No primer (primer not needed for heat-resistant finishes) | High-heat resistant paint (up to 1200°F) — e.g., Rust-Oleum High Heat (black only) |
| Mantel or trim | Wood or composite | Wood primer (e.g., latex or oil-based depending on trim type) | Enamel or interior trim paint (e.g., Sherwin-Williams ProClassic, semi-gloss) |
Top Brands You Can Use:
| Primer | Paint |
|---|---|
| Kilz Premium | Benjamin Moore Regal® Select |
| Zinsser Bulls Eye 1-2-3 | Sherwin-Williams ProClassic® |
| Insl-X Aqua Lock | Behr Premium Plus Ultra® |
| Benjamin Moore Fresh Start | Valspar Signature® |
| Sherwin-Williams Loxon® | Romabio Masonry Paint (for whitewash) |
How to paint brick fireplace
Once primer is dry, you’re ready to paint:
- Brush the mortar: Begin by cutting in the mortar lines and brick edges with a brush dipped in the paint. Carefully paint all grout joints and any crevices. This “brush first” method ensures no unpainted spots remain.
- Roll the brick faces: After the mortar is painted, use a roller to apply paint to the broad brick surfaces. Work in small sections, keeping a wet edge for an even coat. For tall fireplaces, attach an extension pole to your roller.
- Use multiple coats: Two coats of paint are strongly recommended for durability and uniform color. Allow the first coat to dry fully (per manufacturer’s time) before applying the second.
- Clean overlaps: If painting near trim or mantel, carefully remove the tape before the final coat dries fully to avoid peeling. Touch up any missed spots with a brush.
Painting grout lines: A common challenge is getting the mortar lines smooth. Use a small, stiff-bristle brush (1–2″ wide) to push paint fully into the joints, then roll the face of each brick. Sherwin-Williams notes that painting mortar first with a brush helps keep lines clean.
- Interior firebox caution: Do not paint the inside firebox (the actual fire chamber) with regular paint. Only paint brick up to the inner edge of the firebox face. For wood- or gas-burning fireplaces, use a high-temperature firebox paint for the interior walls (see Style Options below).
Style Options for Brick Fireplace
Choosing the look is half the fun. Here are popular styling techniques:
Solid color (opaque paint):
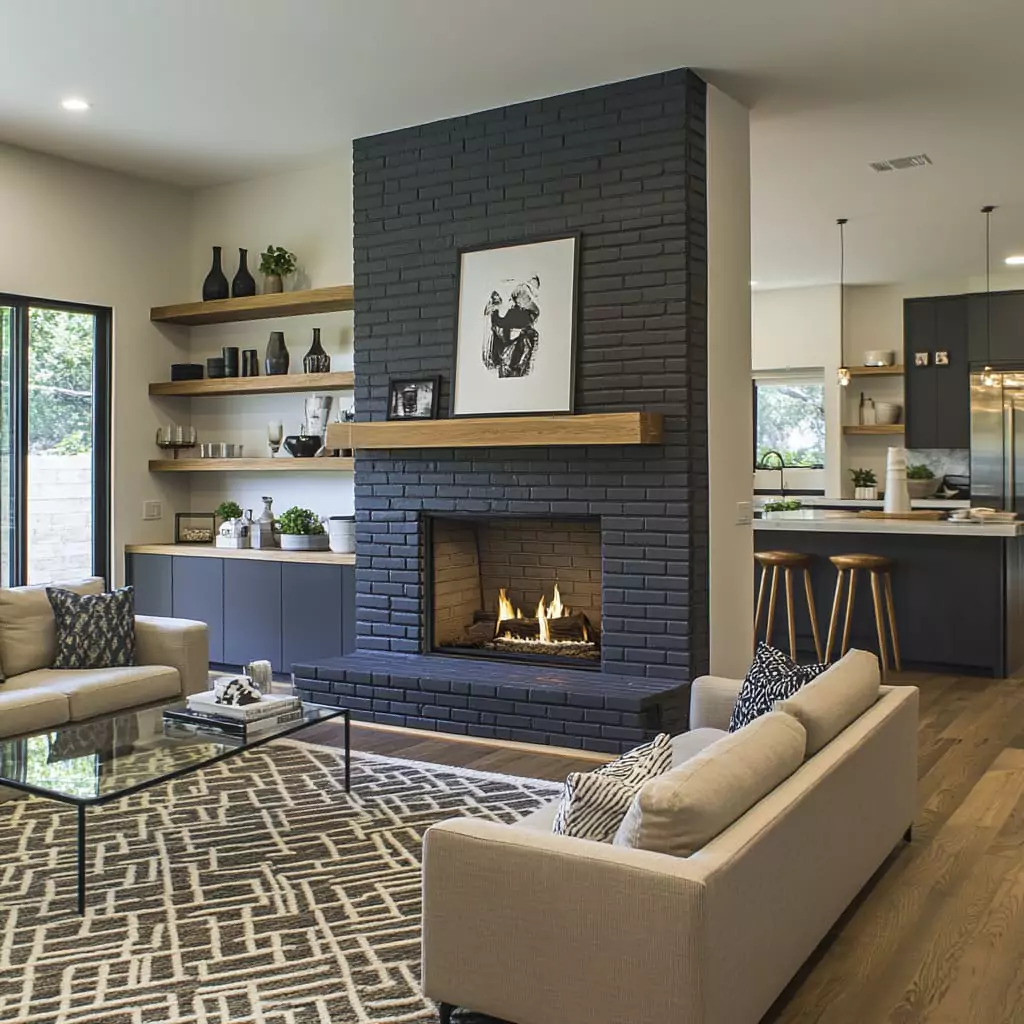
This is the simplest. After priming, apply full-coverage interior latex or acrylic paint to the entire brick. Whites, grays, blacks, or bright accent colors are common. Its the most popular style that you can follow.
Example: A crisp white or deep charcoal paint creates a new focal point in the room. Solid paint is forgiving of imperfections and allows easy color matching with decor.
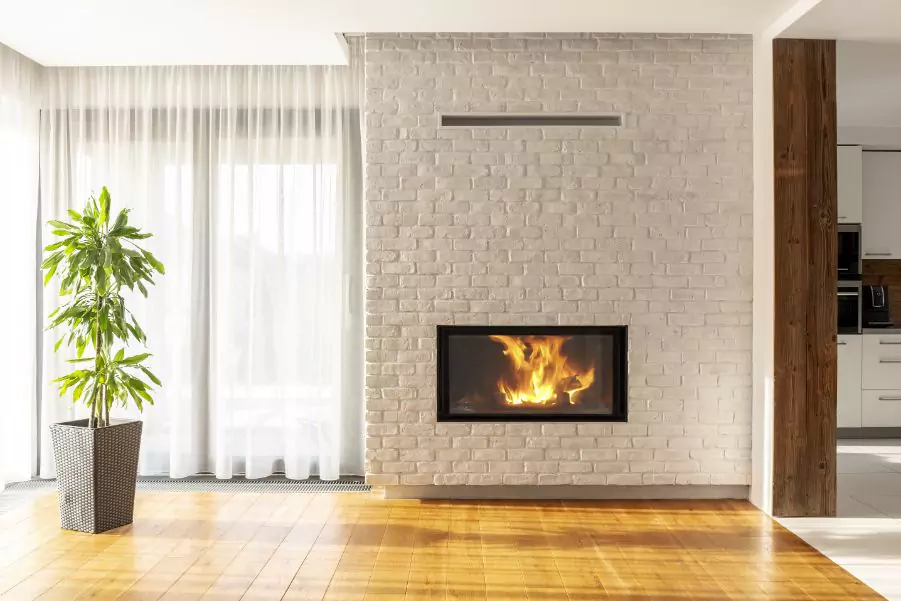
Whitewash (washed finish):
Whitewashing uses a diluted paint (typically white) to let some brick show through. Mix acrylic latex paint with water (Lowe’s DIY used about 8 oz paint to 16 oz water, or a 1:2 ratio).
Brush it on, then immediately wipe with a rag to remove excess while wet. This creates a translucent, rustic effect – parts of the brick and mortar peek through. The key is to work top-down in small patches, brushing on watery paint and dabbing with a cloth right away.
A whitewash brightens the brick but retains texture. It’s ideal for a farmhouse or coastal look. (After whitewashing, no further painting is needed.)
German Smear (Schmear) finish:
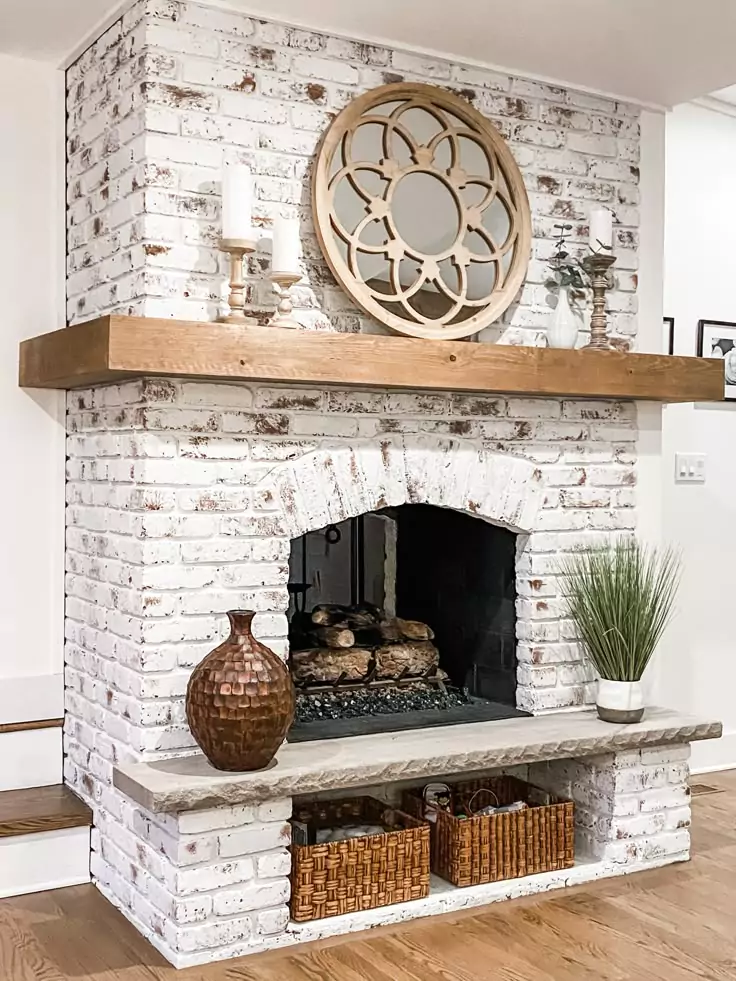
This technique involves a thin mortar wash over the brick. Pre-mixed white mortar (or lime) is applied to deepen grout lines and spread onto brick faces with a trowel or sponge. The result is a heavily textured, old-world look with varying brick tones and white highlights.
To do this, cover floors/walls first, clean the brick, apply brick sealer, then use a piping bag to fill mortar into the joints. Smear off excess with a putty knife at a 45° angle.
The brick will have uneven white patches and exposed red areas for a distressed charm. HGTV notes German smear is similar to whitewash but more forgiving and textural. It’s labor-intensive but dramatic. No conventional paint is used – just mortar (sometimes thinned with water) and sealant to lock the finish.
High-heat fireplace paint (interior firebox):
For the bricks inside the firebox (and the metal firebox face or insert, if present), use a specially formulated high-temperature paint (often black or metallic). Brands like Rust-Oleum or Stove Bright make 1200°F-rated brush-on paints.
This paint resists peeling or blistering under direct flame heat. Apply it only after cleaning soot from the firebox; usually no primer is needed. Note: many DIYers choose to leave the firebox black, as the black high-temp paint also camouflages soot.
For the outer brick face (not directly exposed to fire), normal interior paint is fine. Sherwin-Williams ProClassic® is rated up to ~150°F and has been used successfully on fireplace faces.
Matte vs. Gloss:
Your choice of sheen affects maintenance. Flat/matte paints give a subtle, modern look but show soot and handprints more easily. Sherwin-Williams advises using satin, semi-gloss or gloss sheens on fireplaces because they are easier to clean.
A glossier finish lets you wipe away soot or dust more readily. (If you prefer a low-sheen finish for aesthetic reasons, be prepared for a bit more cleaning.)
Summary of Paint Types: Regular interior acrylic/latex paint is fine for the facade; use primer plus a topcoat (satin or semi-gloss) for durability. For firebox interiors, use a heat-resistant stove/fireplace paint (usually flat black) rated for at least 1000°F.
Tips for Special Cases
- Sooty or Stained Brick: Older fireplaces often have stubborn soot or mineral staining. A standard soap-and-water wash may not remove it all. In this case, use a TSP solution or commercial degreaser. For really bad stains, some recommend a diluted bleach wash (test first) or a commercial masonry stain remover. Rinse thoroughly after cleaning. Always allow extra drying time.
- Very Old or Crumbling Brick: Repair loose mortar and replace deteriorated bricks before painting. Painting over flaking brick only masks the problem. A brick sealer can also be applied before primer to lock down friable surfaces.
- Previously Painted Brick: If the brick has been painted before, you still need to clean it well. Remove any loose or peeling paint by scraping and brushing. Clean with TSP or sugar soap. For adhesion, use a bonding primer (e.g. Zinsser Bullseye 1-2-3 or similar) designed to stick to slick surfaces. Then apply your masonry topcoat. Masonry paints like RomanBiO or Drylok can be used over old paint if properly primed.
- Unpainted vs. Painted Whitewash: The steps differ slightly if you are whitewashing over bare vs. already painted brick. Bare brick: dilute white paint with water (2:1 water:paint) and apply with brush + rag as above. Painted brick: lightly sand or scuff the old paint for grip, then sponge or brush on a very thin tinted glaze (often tinted gray or beige) using a sponge. This mimics whitewash on top of a base coat.
Frequently Asked Questions
Is it safe to paint a fireplace?
Yes, as long as you follow safety precautions and use appropriate products. Painting the exterior brick does not affect fire safety. Use a primer and paint rated for fireplaces, work in a ventilated area, and keep flammable items away.
(Fireplace-specific paints are non-toxic and emit low fumes when cured.) Always make sure the fire is completely out and the hearth is cool before painting. Check local codes if in doubt, especially for gas fireplaces.
Will the paint peel off from heat?
High-quality acrylic or latex paint on the exterior brick face generally adheres well under normal fireplace temperatures. Wood-burning fireplaces can reach about 200–400°F at the face, which most interior paints can tolerate if properly cured.
Sherwin-Williams notes their ProClassic® enamel “can withstand high temperatures” without sagging. However, very high heat areas (like the firebox interior) will damage regular paint. Use heat-rated paint inside, which will not peel up to 1200°F. In any case, ensure thorough priming and two coats for durability, and avoid direct flames on painted surfaces.
Should I use high-temperature (heat-resistant) paint?
Only on the firebox or if specified by your fireplace manufacturer. For the visible brick facade and surrounding wall, standard interior paint is fine. But inside the firebox or on metal inserts, use a heat-resistant stove/fireplace paint (usually flat black).
This special paint is formulated not to emit fumes or degrade under flame. Do not use regular latex inside where combustion occurs. If you have gas logs or a fireplace insert, follow the manufacturer’s guidance; often, the interior is already ceramic-coated and doesn’t need paint.
How do I paint the mortar/grout lines?
Use a brush. A typical approach is to “cut in” the mortar joints with a small angled brush before rolling. Paint the crevices first, then roll the broad brick surface.
Both Benjamin Moore and Sherwin guides recommend painting all mortar lines with a brush and then rolling the bricks. This keeps the paint even and avoids messy drips in the crevices. Touch up any gaps after rolling.
How long will painted brick last?
With proper prep and quality materials, a painted brick fireplace can remain attractive for many years. The topcoat itself may retain its fresh look for 5–10+ years if clean and undamaged. Over time, light chipping or fading is possible.
Regular cleaning (see below) and occasional touch-ups will extend life. If peeling or wear does occur, a spot-primer and repaint can restore it. (Note: painted brick is considered permanent, so maintenance is usually spot-refreshing rather than full repainting.)
Pros & Cons of Painting a Brick Fireplace
Pros:
- Fresh, modern look: A new paint color can completely transform the aesthetic.
- Hides flaws: Paint conceals stains, cracks or uneven bricks, creating a uniform appearance.
- Cost-effective: Far cheaper than re-facing or rebuilding the fireplace.
- Easier to clean: A painted surface is smoother, so wiping off soot or dust is simpler. Many report that a quick damp cloth brings painted brick back to clean.
Cons:
- Irreversible: Once applied, paint is hard to remove. Brick soaks paint deeply. Removing it later would require harsh methods that risk damaging the brick.
- Covers natural texture: If you love exposed brick’s rustic charm, painting will hide it. The brick loses its unique character under paint.
- Risk of peel/chip: In high-heat areas near the firebox, paint can blister or chip over many years. Using heat-resistant products helps mitigate this, but occasional touch-up may be needed.
- Moisture concerns: Painted brick is sealed, which can trap moisture. If brickwork isn’t perfectly dry or has hidden leaks, paint can hide issues while letting moisture build up, potentially worsening mortar damage.
- Time-consuming prep: Proper cleaning and priming are laborious. Skipping steps can lead to early failure.
- Style commitment: Painting is permanent. Changing your mind means repainting over or carefully stripping the paint.


Hi there! This post couldn’t be written any better! Reading through this post reminds me of my previous room mate! He always kept talking about this. I will forward this article to him. Pretty sure he will have a good read. Thank you for sharing!